
Bridge and Back Band
To prepare the bridge, fuse a 1"x3" strip of interfacing to the center of the bridge rectangle.
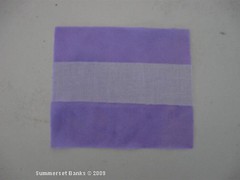
Fold the rectangle, right sides together, so that the longer edges are aligned and stitch.
Turn the rectangle right side out, center the seam at the back and press.
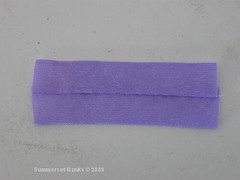
Mark in 1/2" from the ends along one side.

Trim off a triangle from either side, starting at one corner and ending at the marks.
*Note: As a matter of personal taste, I prefer not to gather the center of the bridge as shown in the pattern, so I leave mine plain. If you want to gather the center as per the pattern instructions, that is fine, it is up to you. Basically, gather the center of the bridge using a strong thread and then stitch along the center to keep the gathers in place.*
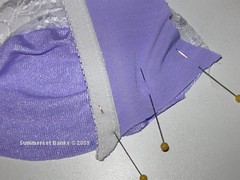
With right sides, together, stitch each diagonal edge to the cups, aligning the center of the bridge with the seam on the cup. Bridge width can vary. If you have a bra that has a bridge with a good width for you, then trim the bridge to the same width before stitching. If not, just baste both sides so that you can adjust the width later.
 Here's what we have so far:
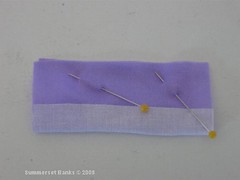
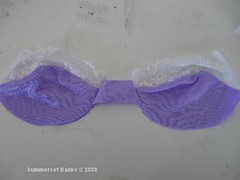 To prepare the back bands for attachment, the bottom elastic will need to be sewn on. Cut a piece of elastic the same measurement as the bottom of the band. Place the elastic on the band with the plush side up on the right side of the band, and the straight edges together as shown below.
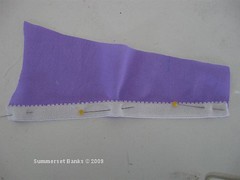
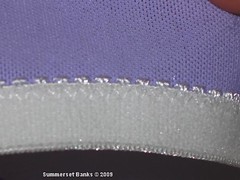
The elastic will be stitched on in two passes. First, stitch close to the loop edge with a small zigzag.
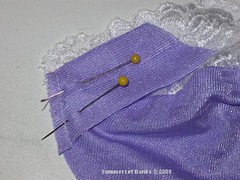
Then turn the elastic to wrong side of the band and stitch with a zigzag close to the straight edge. If you are basting this together for a try on, you can use a long straight stitch for the first pass, and a wide zigzag for the second pass.
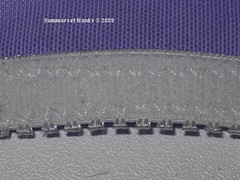 This is what it looks like from the outside:
Stitch the back bands to the cups, right sides together, aligning the marks and the top edge with the cup seam.
 Now we ready for the channeling and upper elastic, which is the next post!
No comments:
Post a Comment