Monday, December 28, 2009

In Shop and Here, Too!

I've just listed the Antique Pink and Amethyst bra kits on Etsy. The Caramel Latte and Victorian Mauve sold before I could get them listed, so I will dye up those colors again in the next few days and get them on Etsy.

***Mochachino kit is sold!***

Meanwhile, I'm not 100% happy with the current kit of the Mochachino color, so I am going to offer that kit here at the reduced price of $10.00 for the kit, plus $5.00 shipping. The tricot came out a bit mottled - it is pretty much tone-on-tone, but is there if you look. The mottling appears as some darker streaks in the brown.

Please email me: summersetbanks@gmail.com if you are interested in the reduced priced Mochachino kit!

***Mochachino kit is sold!***

Thursday, December 17, 2009

More New Colors!

Some of these colors are very interesting - some of them turned out much differently than I thought!

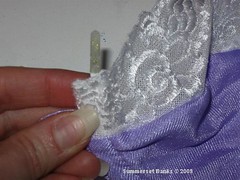
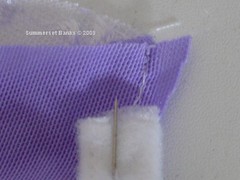
First, there is what I'm going to call Victorian Mauve. The dye color is labeled Reddish Brown, but it looks more mauve in real life than this early photo:

The color actually coordinates really well with many of the pieces from the Antique Pink (Lobster Bisque) set:

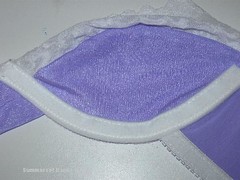
I'm going to call this one Amethyst. This one is interesting in that not all the pieces dyed the exact same color even though they were all in the dye pot at the same time. I'll have to think about what to do with this set - I might combine it with some black findings and power net for a combination/mix and match kit.

The next two colors seem to coordinate well, too. The first one below is Mochachino, and is darker than this picture.

The photo below shows the color a little better, and shows this color compared to a lighter shade, that I'm going to call Caramel Latte.

Caramel Latte really is a nice caramel brown, more golden than the photo and does coordinate well with the Mochachino color.

Seems like there were a lot of browns and muted tones in this new lot of colors. I'm now craving some bright blues and greens - maybe for spring!

These new kits will be available in the next few weeks. I might even do some combination kits or kits with bonus pieces to mix and match.

Monday, December 14, 2009

A Few New Colors

I've ordered some new dyes and here are a couple of the new colors for kits. I should be able to show a few more new colors in a few days. Depending on a few things, I plan to have new kits in stock ready for the new year.

The first new color was labeled Lobster Bisque. This doesn't look like lobster bisque to me at all, so I think I'll call this set Antique Pink. I was hoping for a pinky-peachy skin toned sort of color and I've ended up with an antique mauvey-pink. This is one of those kits where not everything dyed exactly the same shade, so this one has a two toned effect. I am going to try this color again and see how it looks in a paler shade.


This second new color I'm going to call Cranberry Red. It actually has a slight orange undertone, but is very pretty and very dark. I like this shade, so I'll probably dye at least one more set in this color.


Let me know what you think of these colors! I've still got a couple of deeper skin tone colors and a purple to try.

Thursday, December 10, 2009

Back In Stock!

I got more Elan 645's this week, so the White Kits with Elan 645 are back in the Etsy shop. I've also created a listing so that you can just purchase the pattern without any additional supplies, and set the shipping for $2.50 for first class mail to the US.

I've got one more new dye to try out tomorrow, and I'll show you a few new colors over the next week.

Thursday, November 19, 2009

Elan 511 - Tutorial - Part Four

Straps and Finishing


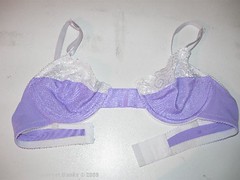
This one is almost done, but there are three more things to finish before it is wearable: straps, wires and back closure.

Let's start with the wires. Insert the wires into the channels so that the white end of the wire is at the underarm and the end with the colored sparkles is at the center. In some cases, it will seem like the wire is a bit too long - do not worry, just shove it in. In the most careful way, of course. When you start to wear the final product the cups and channeling will stretch a bit and everything will fit just fine.

Once the wires are in, bar tack across the ends of the channeling on the bridge to close the channels. If this is only for a try on - you don't have to close the channeling. It will be just one less thing to rip out if you need to.

The next thing to make is the straps. The straps must be put on before the closure in this style. You will need to assemble the straps first. This can be a bit tricky, but I hope this series of photos will help.

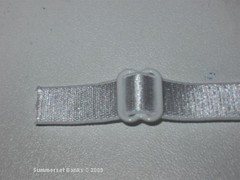
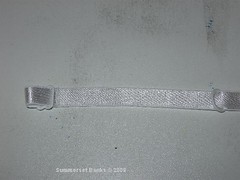
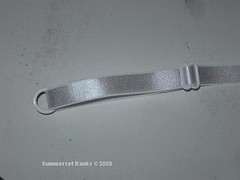
1. Thread the strapping through a slider leaving a tail about 3/4".


2. Stitch down the tail so that the slider can not come off.


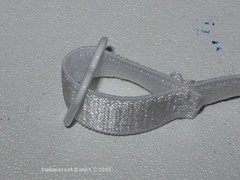
3. Thread the free end of the strap through a ring.


4. Bring the free end of the strap around to the left, toward the slider.

5. Thread the free end of the strap through the slider again and pull tight.


That's it, the strap is ready to be attached.


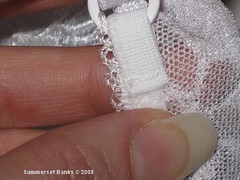
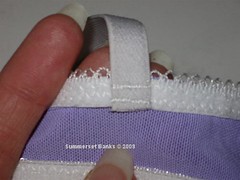
Take the ring and insert that little bit of elastic that you left at the top of the cup through it, bringing the elastic to the back.

Bar tack the elastic in place. If this is only for a try on - just stitch across the elastic a few times, you can even leave the tails of the thread so you can find it and clip it out if necessary.


Bring the strap around to the back and bar tack in place at the marks indicated on the pattern. If you're making this for a try on, just stitch across the strap several times with a regular stitch length. This is strong enough for a try on, yet easier to rip out than a bar tack.


The final step is to add your closure. Check to see if the closure is the same width as the back. You might have to trim each section of the closure to fit. From the back, the hooks go on the section to your left. One end of the eyes opens up - just slip that over the raw edge of the back, with the fuzzy side (the side toward your body when wearing) down. The hooks go on the side to your right. Fold them in half, with the hooks facing down and attach like the eye section.


You can then either zigzag, satin stitch or baste it in place. If you're basting, use a regular stitch length. You don't want this coming loose during a try on.

You're done!

Wednesday, November 18, 2009

Elan 511 - Tutorial - Part Three

Channeling and Upper Elastic


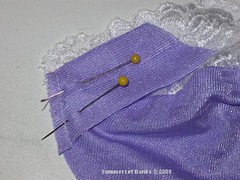
Once the bridge and back bands are applied, the channeling can be added. Fold the bridge and the cup so that they are right sides together with the cup.


The channeling is then applied with the seam of the channeling lined up with the two previous (bridge and band) seam lines. The folded edge of the channeling should face away from the cup and any fabric.

Make sure to stop the channeling about 1/2" from the armhole edge so that the elastic will be easier to apply in the next step.

Stitch the channeling in place along the seam line of the channeling.

Fold the channeling to the inside of the cup and topstitch the folded edge of the channeling down.


To finish the top edge, 3/8" elastic is applied. This elastic is applied in the same way as the bottom elastic from the previous post, with two passes of zigzag stitching. Following the instructions, measure and cut the elastic (3/8" wide) to the same length as the top edge measurement. Pin and sew as for the bottom elastic, except to leave 1/2" of elastic extra above the top edge of the lace. This will be part of the strap attachment.


Almost done - all that is left is straps and finishing, which is the next tutorial!

Tuesday, November 17, 2009

Elan 511 - Tutorial - Part Two

Bridge and Back Band


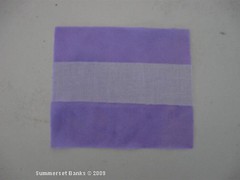
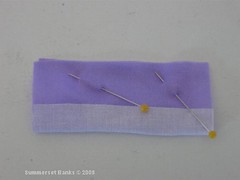
To prepare the bridge, fuse a 1"x3" strip of interfacing to the center of the bridge rectangle.


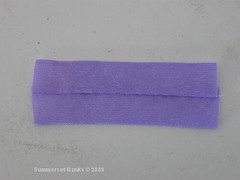
Fold the rectangle, right sides together, so that the longer edges are aligned and stitch.


Turn the rectangle right side out, center the seam at the back and press.


Mark in 1/2" from the ends along one side.


Trim off a triangle from either side, starting at one corner and ending at the marks.


*Note: As a matter of personal taste, I prefer not to gather the center of the bridge as shown in the pattern, so I leave mine plain. If you want to gather the center as per the pattern instructions, that is fine, it is up to you. Basically, gather the center of the bridge using a strong thread and then stitch along the center to keep the gathers in place.*

With right sides, together, stitch each diagonal edge to the cups, aligning the center of the bridge with the seam on the cup. Bridge width can vary. If you have a bra that has a bridge with a good width for you, then trim the bridge to the same width before stitching. If not, just baste both sides so that you can adjust the width later.

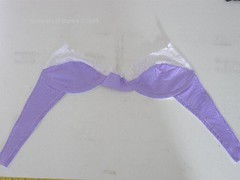
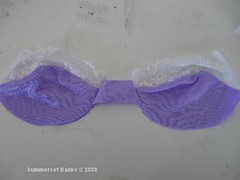
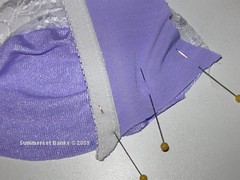
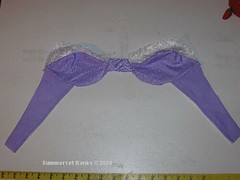
Here's what we have so far:

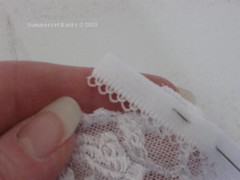
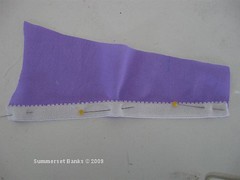
To prepare the back bands for attachment, the bottom elastic will need to be sewn on. Cut a piece of elastic the same measurement as the bottom of the band. Place the elastic on the band with the plush side up on the right side of the band, and the straight edges together as shown below.


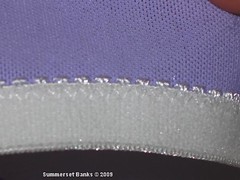
The elastic will be stitched on in two passes. First, stitch close to the loop edge with a small zigzag.


Then turn the elastic to wrong side of the band and stitch with a zigzag close to the straight edge. If you are basting this together for a try on, you can use a long straight stitch for the first pass, and a wide zigzag for the second pass.

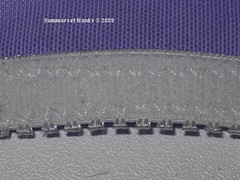
This is what it looks like from the outside:


Stitch the back bands to the cups, right sides together, aligning the marks and the top edge with the cup seam.

Now we ready for the channeling and upper elastic, which is the next post!